In this example we are going to see CarouselView Example in MAUI.
1) Add new page and Update code as below.
<?xml version="1.0" encoding="utf-8" ?>
<ContentPage xmlns="http://schemas.microsoft.com/dotnet/2021/maui"
xmlns:x="http://schemas.microsoft.com/winfx/2009/xaml"
x:Class="MauiApp1.CarouselviewEXP1"
Title="CarouselviewEXP1">
<VerticalStackLayout>
<IndicatorView x:Name="carsIndicator" HorizontalOptions="Center" IndicatorColor="LightGray" SelectedIndicatorColor="Gray" IndicatorsShape="Square" Margin="0,50,0,0" VerticalOptions="FillAndExpand" />
<CarouselView ItemsSource="{Binding Cars}" IndicatorView="{x:Reference carsIndicator}">
<CarouselView.ItemTemplate>
<DataTemplate>
<StackLayout>
<Frame HasShadow="True" BorderColor="DarkGray" CornerRadius="5" Margin="20" HeightRequest="300" HorizontalOptions="Center" VerticalOptions="CenterAndExpand">
<StackLayout>
<Label Text="{Binding Name}" FontAttributes="Bold" FontSize="Large" HorizontalOptions="Center" VerticalOptions="Center" />
<Image Source="{Binding Image}" Aspect="AspectFill" HeightRequest="200" WidthRequest="200" HorizontalOptions="Center" />
<Label Text="{Binding Details}" />
</StackLayout>
</Frame>
</StackLayout>
</DataTemplate>
</CarouselView.ItemTemplate>
</CarouselView>
</VerticalStackLayout>
</ContentPage>
2) Go to .CS page and update as below.
using System.Collections.ObjectModel;
namespace MauiApp1;
public partial class CarouselviewEXP1 : ContentPage
{
public ObservableCollection<Car> Cars { get; set; } = new ObservableCollection<Car>();
public CarouselviewEXP1()
{
InitializeComponent();
BindingContext = this;
}
protected override void OnAppearing()
{
Car objCars = new Car { Name = "Tata Nexon", Details = "Tata nexon Details", Image = "car1.jfif" };
Cars.Add(objCars);
objCars = new Car { Name = "Kia Sonet", Details = "Kia Sonet Details", Image = "car2.jfif" };
Cars.Add(objCars);
objCars = new Car { Name = "Tata Altroz", Details = "Tata Altroz Details", Image = "car3.jfif" };
Cars.Add(objCars);
objCars = new Car { Name = "Hyundai Alcazar", Details = "Hyundai Alcazar Details", Image = "car4.jfif" };
Cars.Add(objCars);
}
}
public class Car
{
public string Name { get; set; }
public string Details { get; set; }
public string Image { get; set; }
}
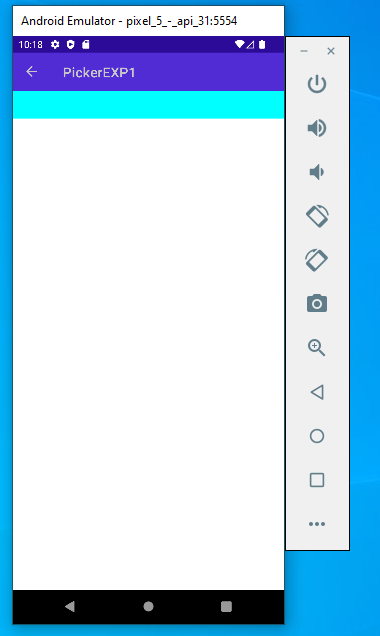
Output:
Code in Github: https://github.com/adi501/MAUI